I have a lot of plain white flowers that I bought from QVC ages ago - they can be coloured how you wish but I have left them white for this particular card.
These particular ones have six petals but you can use flowers with any number of petals using the same process and you could use flowers cut with a die too.
First of all I got my main materials together.
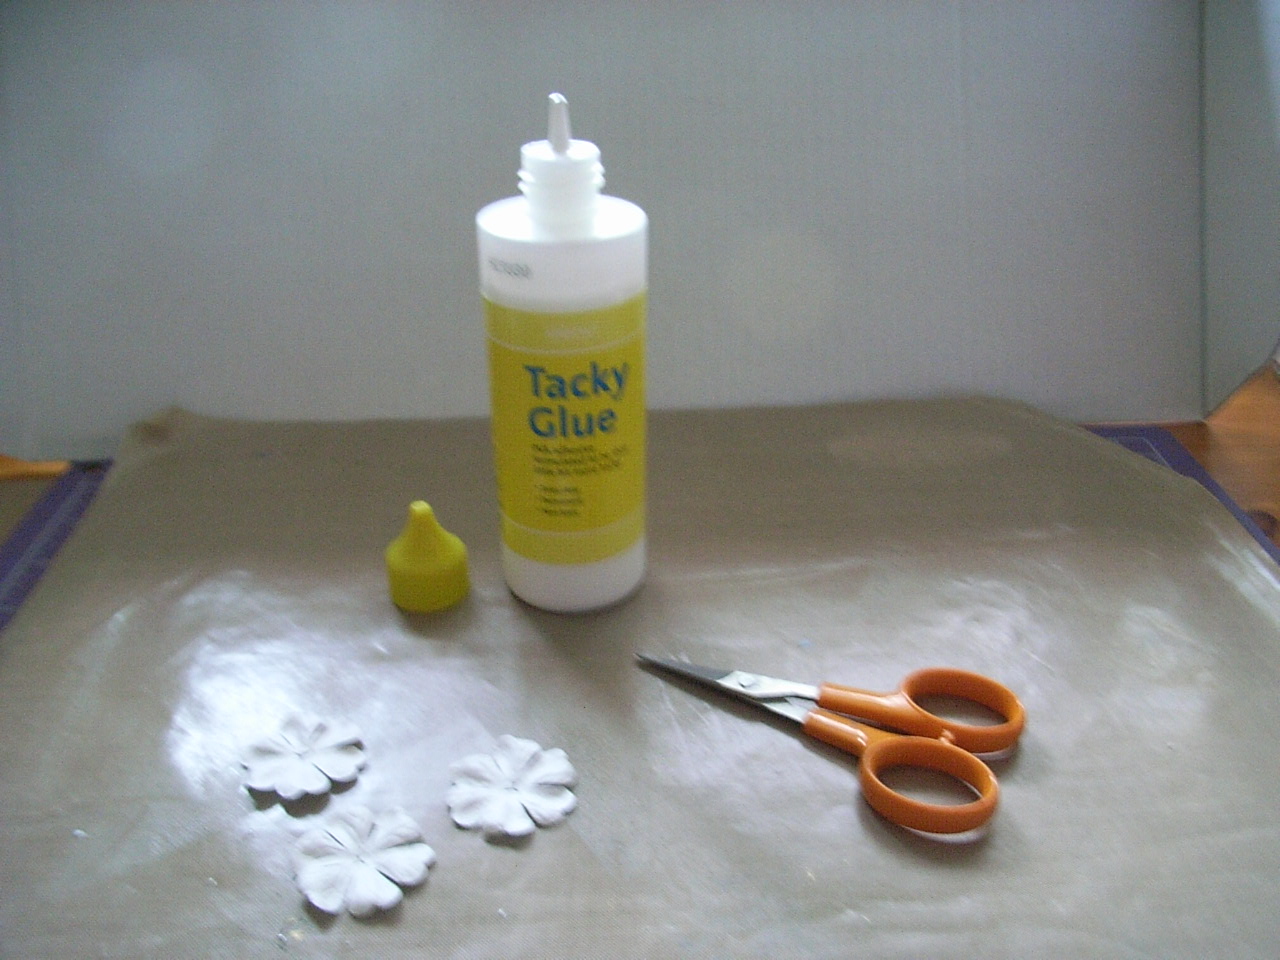
This was:
Three flowers of the same size.
Tacky Glue
Scissors
Then I cut one petal out of one of the flowers, two out of the second and left the third intact.

The pieces that have been cut out are not used for the flowers so can be thrown out - or saved of course if you feel like sticking them all together to make another flower if you are a really thrifty crafter!!
Then:

Put some tacky glue on the far right petal of each piece you have cut and stick it under the left side petal to close it into a flower shape again. You will then have two conical flower shapes, one smaller than the other and one full flower.

Bet you're well ahead of me now --- it's time to stick them together.

Put a good dab of tacky glue in the centre of the whole flower.

Put the larger of the shapes you have made in to the centre of the full flower and hold in place for a moment or two using an embossing tool or something similar.

Then do the same with the smaller piece and hold it down well - press a little while you are doing this to help get the new flower shape. Then leave to dry.

When they are completely dry you can tease the petals a little to shape the flowers.

I wanted to frost these a little so I touched the petal edges with white frosty stickles and then put a gem in the centre of each. I think they would look lovely with pastel shades of stickles on the petal edges too.


I then wanted to add some leaves so chose a couple of larger flowers from the same pack and coloured them with a grass green Promarker. No doubt a leaf green would have been better but I didn't have one!

When they were cut like this they made really credible leaves.
Hope you like my first effort at a tutorial and that it isn't too old hat for you all!


6 comments:
hi these look super, great idea, x crofty
These are fab little flowers. Thanks for the tut' will have a try later. x
What a clever idea - something quite simple but not something I've ever thought of doing! I have made flowers to match colours used in cards by layering different colour/size/shape 'flat' flowers together but have never thought to make them like this!
oh thank you and well done this is what i love to do!!!!
Great tutorial, i must have a go at making these
Kate xxx
Excellent tutorial.......... I have these flowers too and am always menaning to try something different with them. WIll dfefinately be giving the leave a go. Thanks.
Post a Comment